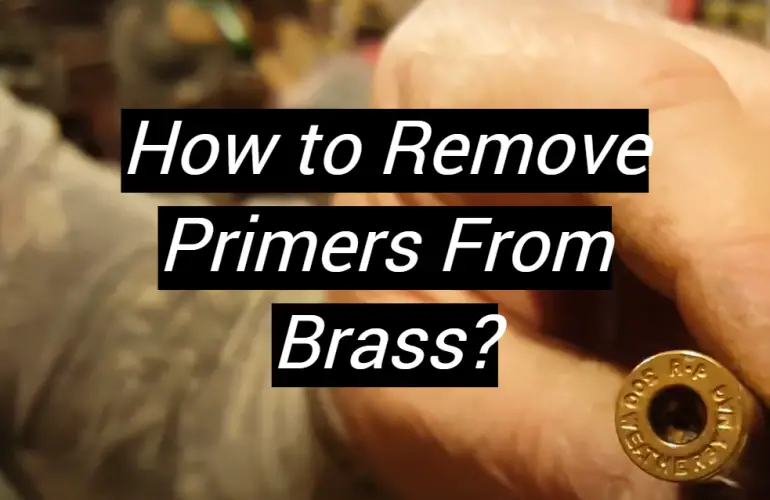
Removing primers from brass can be a difficult task, but with the right tools and techniques it can be done fairly easily. In this guide we will discuss the different methods that can be used to remove primers, as well as the pros and cons of each method. We will also provide some tips on how to avoid primer removal headaches in the future!
What Is Primer?
Primer is a small metal cup that contains a volatile chemical compound used to ignite the gunpowder in a cartridge.
Types of Primers
Berdan and Boxer Primers
Berdan and Boxer are the two types of primers used in brass cartridges.
The vast majority of brass used by American reloaders is boxer-primed and can be reloaded an indefinite number of times. On the other hand, berdan-primed cases can only be reloaded a couple of times before the anvil wears out and needs to be replaced. [2]
How to Remove Primer from Brass?
Brass is an alloy of copper and zinc and is often used for making ammunition casings. When reloading brass cartridges, it is sometimes necessary to remove the old primer before adding a new one.
There are several ways to do this, but some methods are more effective than others.
Methods to Remove Primers from Brass
There are two ways to remove primers from brass: manually or with a tool. Let’s take a look at both methods.
The Manual Method: This is the most common method used to remove primers from brass. It is also the easiest and most inexpensive method.
Pros:
- You likely already have the supplies needed
- It is a very straightforward process
- Inexpensive
Cons:
- It can be time-consuming
- You need a steady hand
- There is a greater chance of damaging the brass
The Tool Method: This method is faster and easier than the manual method, but it does require a small investment in a tool.
Pros:
- Faster than the manual method
- Easier than the manual method
Cons:
- Requires a small investment in a tool
Now that we’ve looked at the two methods, let’s prepare to remove the primers from our brass.
Preparation Techniques
There are a few things you need to do in order to prepare your brass for primer removal.
First, you need to clean your brass. This will remove any dirt or debris that could potentially damage your equipment.
Second, you need to trim your brass. This will ensure that all of the pieces are uniform in size and shape.
Finally, you need to deburr your brass. This will help to prevent any sharp edges from causing problems during the removal process.
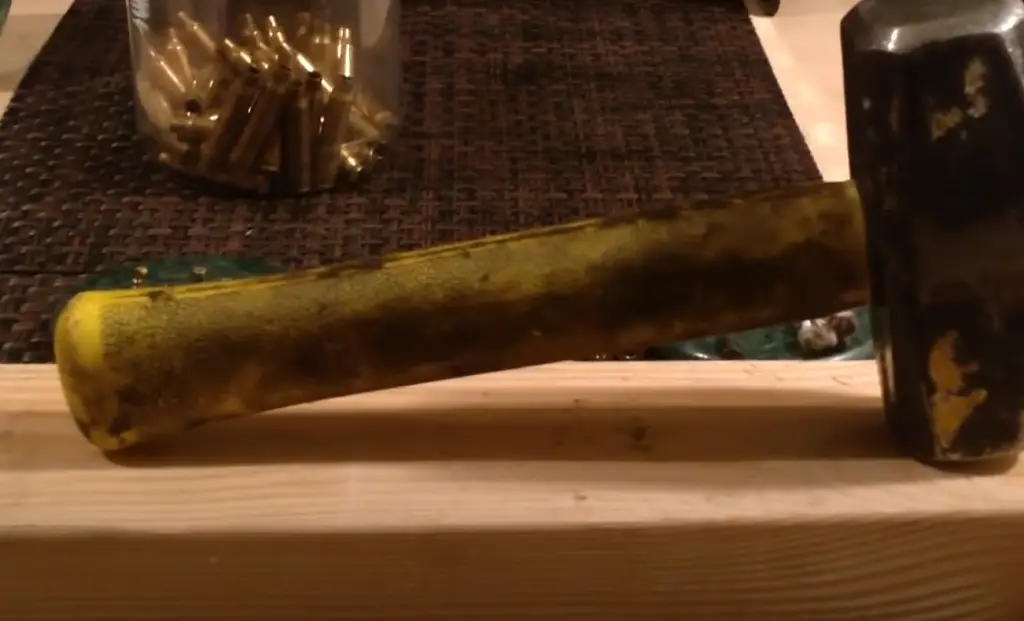
Protect the Surrounding Area
Before you start removing primers from brass, it’s important to protect the surrounding area. Cover your work surface with a towel or something else that can catch brass shavings. It’s also a good idea to wear gloves to keep your hands clean.
Now you’re ready to start removing primers from brass!
Step- by- step Removing Instructions using Simple Tools
To manually remove a primer from brass, you will need the following items:
- A small flathead screwdriver
- A pair of tweezers
- A bowl or cup
- Water
- Soap (optional)
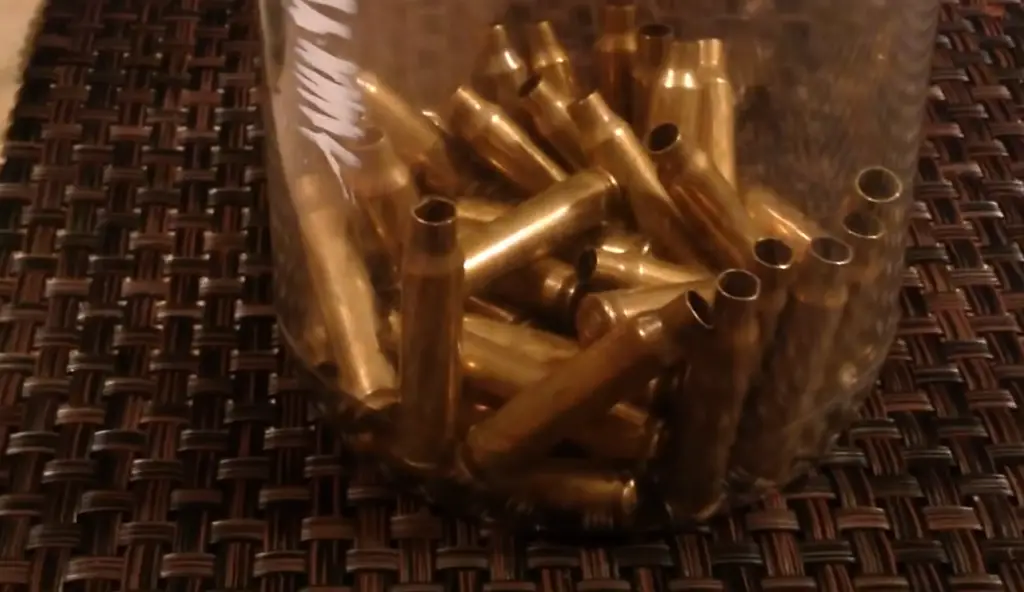
Step 1: Locate the spent primer. This will be on the small brass disk at the base of the cartridge.
Step 2: Insert the tip of the screwdriver under the edge of the primer.
Step 3: Gently pry up on the screwdriver until you hear a “pop” sound. The primer should now be free from the brass. If it does not come out easily, stop and try again later. You don’t want to force it and risk damaging your brass.
Step 4: Use the tweezers to grab hold of the primer and pull it out of the case. If it is stubborn, you can try gently wiggling it back and forth until it comes loose.
Step 5: Drop the primer into the bowl or cup.
Step 6: Repeat steps one through five until all of the primers have been removed.
Step 7 (optional): Once all of the primers have been removed, you can optionally wash your brass in soapy water to remove any residue. Rinse well and allow to dry completely before reloading.
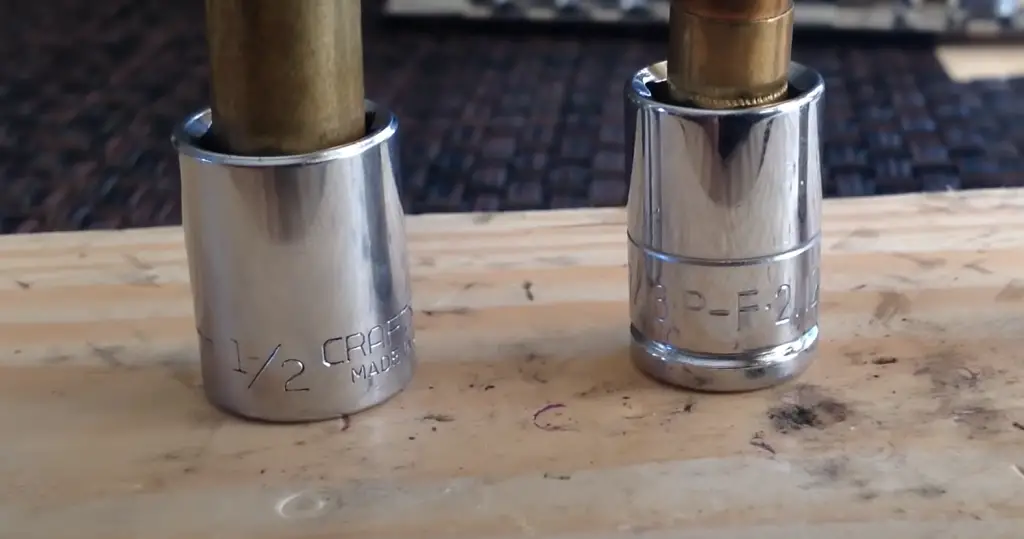
To remove primers from brass using a tool, you will need:
- A primer pocket reamer (available at most gun stores or online)
- A set of drill bits (optional)
- A power drill (optional)
Step 1: Select the proper size reamer for your brass. This will be listed on the packaging.
Step 2: Insert the tip of the reamer into the primer pocket.
Step 3: Turn the reamer clockwise until you feel it bottom out. Do not force it, as this can damage your brass. If you are having difficulty, try using a drill bit to start the hole before switching to the reamer.
Step 4: Remove the reamer and inspect your work. The primer pocket should now be slightly enlarged. Repeat as necessary until all of the primers have been removed.
Assuming that you have already gathered your supplies, removing primers from brass is a relatively simple process. To remove primers manually, all you need is a small screwdriver and a pair of tweezers.
With either method, a little elbow grease is all it takes to get the job done.FAQ
What is Depriming?
Depriming is the process of removing the primer from brass casings. The primer is a small metal cup that contains a charge of explosive material. When the firing pin of a gun strikes the primer, the resulting explosion ignites the powder in the cartridge and propels the bullet down the barrel.
What is a Berdan primer?
Berdan primers are a type of primer that has a small anvil built into the base. They are named after their inventor, Colonel Hiram Berdan of the Union Army. Berdan primers were used in some early U.S. military ammunition, but they are not commonly used today. Most modern ammo uses Boxer primers, which have a small hole in the center of the anvil.
Which is better, Berdan or Boxer primer?
The debate between Berdan and Boxer primers is one that has been around for many years. There are pros and cons to both types of primers, but ultimately it comes down to personal preference. Some reloaders prefer the ease of use that comes with Boxer primers, while others find that Berdan primers give them a more consistent result.
If you’re trying to decide which type of primer is right for you, it’s important to weigh all of the pros and cons before making a decision. Here’s a quick overview of the key differences between Berdan and Boxer primers:
- Berdan primers are more difficult to remove from brass than Boxer primers.
- Berdan primers require a special tool to remove them, while Boxer primers can be removed with a regular pair of pliers.
- Berdan primers are more stable and have a longer shelf life than Boxer primers.
- Berdan primers are less likely to cause misfires than Boxer primers.
- Berdan primers are more expensive than Boxer primers.
As you can see, there are some clear advantages and disadvantages to both types of primers. It’s important to consider all of the factors before making a decision about which type is right for you. If cost is a major consideration, then Boxer primers may be the way to go. But if you’re looking for a more reliable primer that will give you consistent results, then Berdan primers may be the better choice.
Can I Reload Berdan primed brass?
Berdan primed brass cannot be reloaded. The primer pockets on Berdan primed brass are not the same size as those on boxer primed brass, so the primers cannot be removed and replaced. You can however, cut off the Berdan primer with a sharp knife and then use a boxer die to re-prime the brass.
Does paint remover damage brass?
Paint remover can damage brass if it is not used properly. Always follow the instructions on the paint remover packaging and test the product on a small area of the brass before using it on the entire piece. If you are unsure about how to use paint remover, contact a professional for help.
How do you remove paint from metal without chemicals?
To remove paint from metal without chemicals, you will need to sand the paint off. You can use a hand sander or power sander for this task. Be sure to wear a dust mask and eye protection while sanding. If the paint is thick, you may need to use a paint stripper before sanding. Once all of the paint is removed, you can then polish the metal to a high shine.
Useful Video: Removing primer from ammo brass. by Eddy Coleman, Gilmer Texas
Conclusions
So, there you have it—a complete guide on how to remove primers from brass. We hope that this has been helpful and informative, and that you now feel confident taking on this task yourself. As always, if you have any questions or comments, please feel free to reach out to us. We would be happy to help in any way that we can. Thanks for reading!
References:
- https://ammo.com/primer-type/berdan-vs-boxer
- https://www.ammunitiontogo.com/lodge/boxer-vs-berdan-primers/
- https://en.wikipedia.org/wiki/Primer_(firearms)