Metal transition strips are an essential part of many construction and renovation projects. They provide a smooth and finished look to the edges of different types of materials, and they can help protect against accidental injuries.
On the other hand, in-room transitions are utilized to link two rooms on the inside of a home. They connect two different flooring surfaces, such as carpet and hardwood. Transition strips come in a variety of sizes and materials, with one being metal.
If you need to cut metal transition strips, you should know a few things before you get started. In this blog post, we will discuss the best way to cut metal transition strips so that you can get the results you need in your project.
Reasons to Cut Metal Transition Strips
- To create a custom fit;
- To avoid damage to the flooring;
- To achieve a clean, professional look;
- To avoid damaging the flooring;
- To make installation easier;
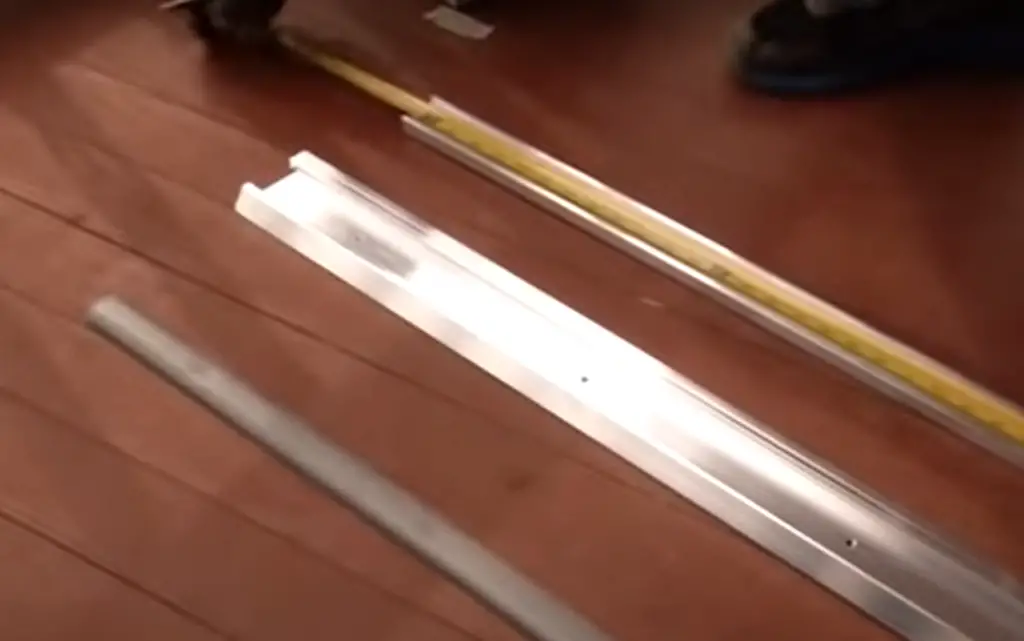
If you’re installing new flooring and need to connect two different types of flooring materials, you’ll likely need to use a metal transition strip. Metal transition strips can be tricky to cut, but with the right tools and a little bit of patience, it’s definitely doable!
Cutting Metal Transition Strips
Things You’ll Need
- Tin snips;
- Measuring tape;
- Marker;
- Straight edge or level;
Cutting metal transition strips is a relatively easy process, but there are a few things you’ll need to make sure you have before getting started. Tin snips will be the primary tool you use to cut the metal, so make sure you have a good pair on hand. You’ll also need a measuring tape and marker to measure and mark where you need to make your cuts.
Measure The Size Of The Doorway
The first step is to measure the size of the doorway you’re working with. Measure the width of the doorway at both the top and bottom and write down those numbers. Then, measure the height of the doorway on both the left and right sides and write down those numbers as well. You’ll use these measurements to determine how big to cut your transition strip.
Measure That Same Distance On The Transition Strip
Once you have your doorway measurements, it’s time to start measuring on the transition strip. Starting at one end of the strip, measure out the width of the doorway at the top and bottom. Then, measure the height of the doorway on both the left and right sides. Once you’ve measured all four sides, use a marker to mark those spots on the transition strip.
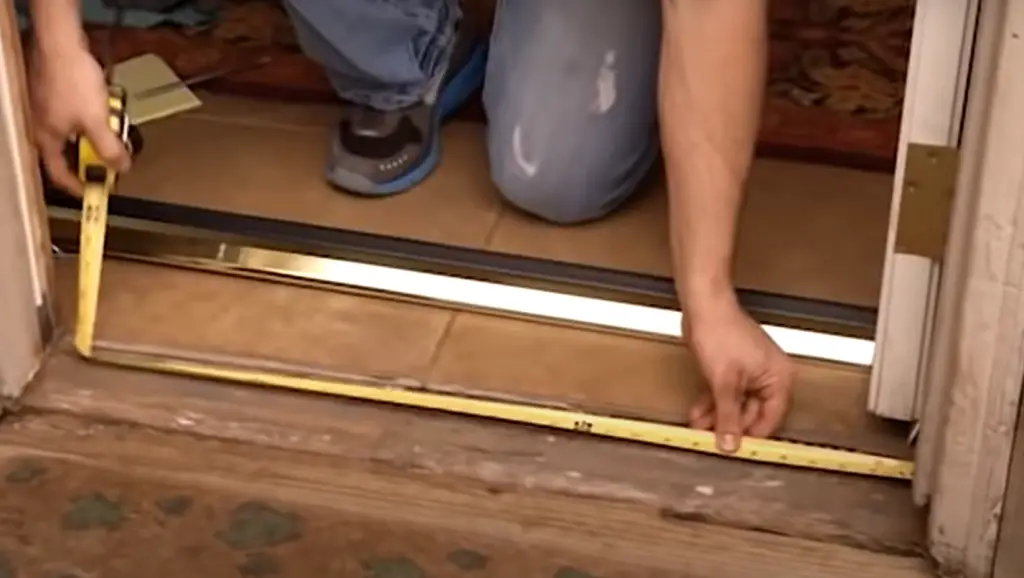
You should now have four marks on the transition strip that correspond to the measurements of your doorway. These marks will be your guide for making your cuts.
Set The Transition Strip On A Flat Surface
This will help ensure that your cuts are nice and straight. If you’re working with a larger piece of metal, you may need to set it on a sawhorse or other support to keep it from moving around.Once the transition strip is set up, line up your straight edge or level so that it runs through all four of your marks. This will give you a nice, straight line to follow when making your cuts.
If everything is lined up correctly, you should be able to see all four of your marks on the metal through the straight edge or level.
Move The Hack Saw Back And Forth Over The Transition Strip
Now it’s time to start cutting. Place the blade of your tin snips on the transition strip at one of your marks and then move the hacksaw back and forth over the metal. As you’re doing this, be sure to apply even pressure so that all of your cuts are uniform.
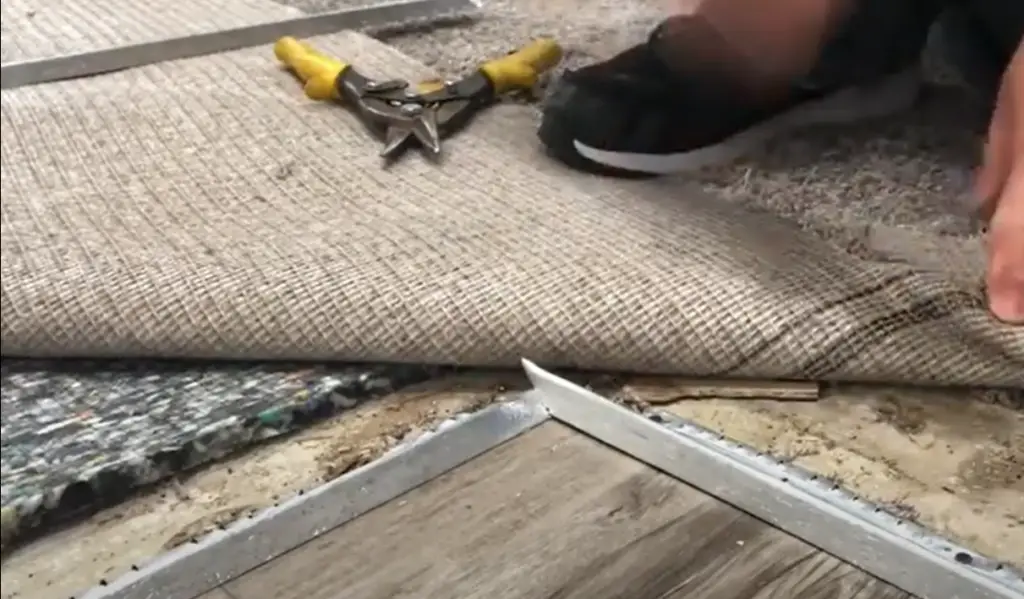
Once you’ve cut through all four sides, you should have a piece that’s the same size as your doorway.
Set The Transition Strip In The Desired Location
If everything looks good, you can go ahead and install the strip. If not, simply measure and cut again until you get it right.
And that’s all there is to it! With a little time and effort, you can easily cut your own metal transition strips. Just be sure to measure carefully and use a straight edge or level when making your cuts.
FAQ
How do you cut transition tracks?
There are a few ways that you can cut your transition tracks, depending on what tools you have available to you. You can use a chop saw, jigsaw, or even a handheld grinder with a metal cutting blade. If you are using a power tool, be sure to wear eye and ear protection.
If you are using a handheld grinder, you will want to score the metal first before cutting it all the way through. This will help prevent the metal from warping as you cut it. To score the metal, simply run the grinder along the line where you want to make your cut. Once you have scored the entire length of the cut, go back over it with the grinder turned all the way up to cut through the metal.
You can also use a jigsaw to cut your transition tracks. If you are using a jigsaw, be sure to use a blade that is made for cutting metal. You will also want to clamp down the track so it doesn’t move as you are cutting it.
Another option is to use a chop saw. A chop saw is a type of power saw that has a blade that cuts in an up and down motion. This makes it ideal for cutting metal. Be sure to use a metal cutting blade in your chop saw and wear eye and ear protection while you are using it.
How do you cut metal strips at home?
If you’re looking to save some money on your next home improvement project, you may be wondering how to cut metal strips at home. With a few simple tools, you can easily cut metal strips yourself, and transition them between different flooring surfaces.
Here’s what you’ll need [3]:
- A hacksaw or jigsaw with a metal cutting blade;
- A measuring tape or ruler;
- A level;
- Sandpaper (optional);
First, measure the area where you’ll be installing the transition strip. Using your measuring tape or ruler, mark the spot where you’ll need to make your cut.
If necessary, use a level to make sure that your line is straight. Then, using your hacksaw or jigsaw, make your cut along the line that you’ve marked.
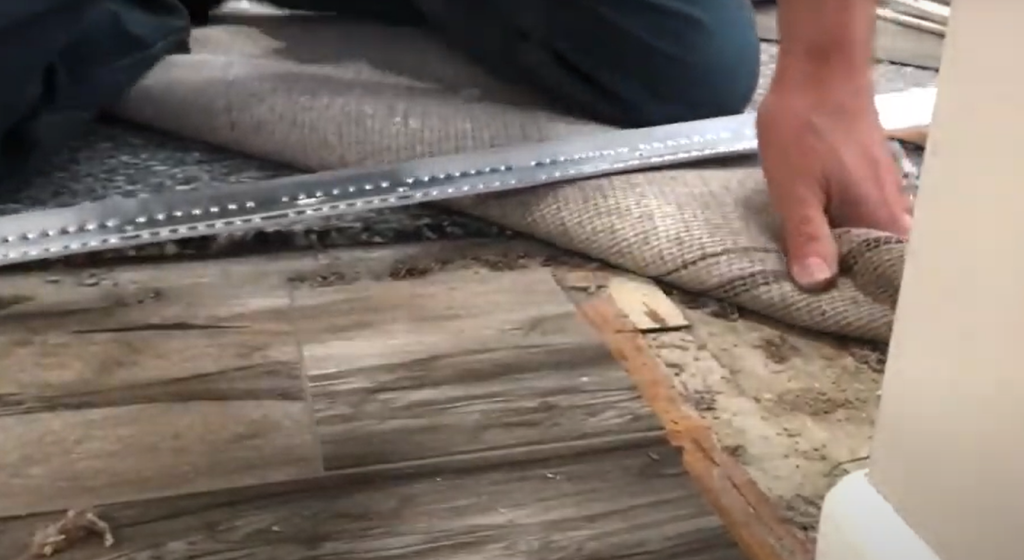
If desired, you can use sandpaper to smooth out any rough edges on your newly cut transition strip. And that’s it! You’ve now successfully installed a metal transition strip in your home.
How do you cut a transition strip on a door?
There are a few ways that you can cut a transition strip on a door. You can use a saw, a utility knife, or even tin snips. However, the best way to cut a transition strip is with an angle grinder.
An angle grinder will allow you to make clean cuts on the transition strip and will also help to prevent any damage to the door itself. When using an angle grinder, be sure to wear protective gear such as gloves and eye protection [4].
Once you have cut the transition strip, you will need to install it on the door. This can be done by using screws or nails. Be sure to predrill holes for the screws so that they do not split the wood. Nails can be used, but they will not provide as much holding power as screws.
Angle grinders are one of the most versatile tools in any DIYer or professional’s arsenal. Not only can they quickly remove rust or paint from metal surfaces, but with the right disc installed, they can also cut through tougher materials like concrete or stone. However, before using an angle grinder on any surface, it’s important to understand both the safety concerns and proper techniques involved.
How do you cut a transition strip on a floor?
If the strip is thin and flexible, you can use a sharp utility knife to score it along the desired line of cuts. Then, bend the strip back and forth until it snaps along the scored line.
If the strip is thicker or more rigid, you may need to use a power tool like a jigsaw or reciprocating saw to make your cuts. Always wear eye protection and follow all safety instructions when using power tools.
Once you have made your cuts, use a file or sandpaper to smooth away any rough edges so that they don’t pose a hazard. Now your transition strip is ready to be installed!
How do you cut metal by hand?
If you are using a saw, it is important to use a blade that is designed for cutting metal. This will help to prevent the blade from getting too hot and damaging the metal.
When using a file, you will want to start with a coarse file and then move to a finer one. This will help to remove any burrs that may be on the metal [5].
Snips are also an option for cutting metal by hand. They can be used for both straight and curved cuts. When using snips, it is important to use the correct type of blade for the type of metal you are cutting.
Another option for cutting metal is to use a power tool. This will make the process go much faster, but it is important to be very careful when using power tools. Always use safety goggles and gloves when operating a power tool.
What is the best tool for cutting metal?
Jigsaws are great for cutting metal because they’re so versatile – you can use them to make straight cuts, curves, and even circles. Plus, they’re relatively inexpensive and easy to find [6].
If you don’t have a jigsaw, though, you can also use a hacksaw or an electric drill with a metal-cutting attachment. Whichever tool you choose, just be sure to use plenty of lubricants (such as WD-40) to prevent the tool from overheating and damaging the metal.
Once you’ve chosen your tool and lubricated it, simply position the blade where you want to make your cut and then start sawing. Remember to go slowly at first, especially if you’re cutting through thicker metal strips. If the blade starts to bind, simply back it out and re-lubricate before trying again.
How do you cut metal molding?
You can use a saw or utility knife to cut the metal. If you are using a saw, make sure that the blade is sharp so that it will not damage the surface of the molding. You can also use a file to smooth out any rough edges.
If you are using a utility knife, be sure to score the metal first before cutting it. This will help prevent the knife from slipping and damaging the surface of the molding. Once you have scored the metal, carefully cut along the line with your utility knife. Again, be sure to smooth out any rough edges with a file afterward.
Can I glue a transition strip?
Yes, you can glue a transition strip. You will need to use a strong adhesive that is meant for metal. Experts recommend using Loctite Power Grab All-Purpose Adhesive or Gorilla Heavy Duty Construction Adhesive. You will also need to use clamps to hold the transition strip in place while the adhesive dries.
If you are not comfortable using an adhesive, you can also screw the transition strip into place. You will need to drill pilot holes first and then use screws that are long enough to go through both the transition strip and the flooring material. Be sure to countersink the screws so that they are flush with the surface of the transition strip.
Which is better? Adhesive or screws? That is a matter of personal preference. If you choose to use screws, be sure to use a good quality stainless steel screw so that it does not rust over time.
How to cut the metal strips quickly?
If you’re looking to install metal transition strips quickly, you’ll need to know how to properly cut them.
Here are a few tips on how to do so:
- First, use a measuring tape to measure the area where you’ll be installing the strip. This will give you an accurate measurement of how long the strip needs to be;
- Next, use a sharp utility knife or a hacksaw to cut the strip to size. If using a utility knife, make sure to use a straightedge or level as a guide so that your cuts are clean and precise;
- Once the strip is cut to size, gently sand down any rough edges with fine-grit sandpaper;
- Finally, use a strong adhesive to attach the strip in place. Press down firmly on the strip and allow the adhesive to dry completely before walking on it;
With these tips in mind, cutting metal transition strips should be a breeze! Just be sure to take your time and measure accurately to ensure a perfect fit.
Useful Video: How to install transition strips floor molding
References:
- https://www.hunker.com/13401632/how-to-cut-metal-transition-strips
- https://www.hunker.com/13401632/how-to-cut-metal-transition-strips
- https://getrit.com/how-to-cut-metal-carpet-transition-strip-p016790
- https://en.wikipedia.org/wiki/Angle_grinder
- https://www.thisoldhouse.com/tools/21445269/metal-cutting-tools
- https://en.wikipedia.org/wiki/Jigsaw_(tool)

