Brass is a popular metal for decorative objects because of its warm color and malleability. However, brass can also be blackened to create a more dramatic look. In this article, we will discuss the various methods that can be used to blacken brass. We will also provide tips on how to achieve the best results. So if you’re looking to give your brass decorations a bold new look, read on!
How to Blacken Brass?
Brass is a beautiful metal that’s often used in household fixtures and decorative items. [3] Unfortunately, over time it can develop a patina that makes it look dull and lifeless.

If you’re looking to give your brass a makeover, blackening it is a great way to add some visual interest.
Tools & Materials
To blacken brass, you’ll need:
- Water
- A plastic container
- A clean, dry brass piece
- Blackening solution
- A paintbrush or other applicator
- Protective gloves
- Ventilation (optional)
Technique
Cleaning & Preparation Techniques
To get started, you’ll need to clean the brass thoroughly. [2] Any dirt, grease, or grime will prevent the blackening solution from adhering properly.
Once the brass is clean, it needs to be prepped for blackening. This step is critical, as it provides a smooth surface for the blackening solution to adhere to. If you skip this step, your brass will likely have a patchy finish.
There are two common prep techniques: sanding and chemical etching. Sanding is the most common prep method and involves using progressively finer grits of sandpaper until the brass has a smooth finish. Chemical etching is the other prep method and involves using a chemical solution to eat away at the surface of the brass.
Both methods have their pros and cons, but we recommend sanding for most people. It’s less messy, and you’re less likely to damage the brass if you make a mistake.
Once your brass is clean and prepped, it’s time to blacken it!
Blackening Techniques
There are two common ways to blacken brass: patination and chemical blackening. Patination is the more traditional method and involves using chemicals to change the color of the brass. [1]
Patination is typically used for larger pieces, as it’s more difficult to control than chemical blackening. Chemical blackening is the better choice for smaller pieces, as it’s easier to get a consistent finish.
There are a few different patination techniques, but we’ll be focusing on the liver of sulfur method. This is one of the most popular patination methods, as it’s relatively easy to do and produces great results.
Step 1: Fill a container with water and place your brass piece in it. The water will help to prevent the liver of sulfur from damaging the brass.
Step 2: Add liver of sulfur to the water and stir until it’s dissolved. The amount you’ll need will depend on the size of your piece, but we recommend using two teaspoons for a small piece.
Step 3: Place your brass piece in the solution and allow it to sit for five to ten minutes. The longer you let it soak, the darker the finish will be.
Step 4: Remove the brass from the solution and rinse it with water. You may need to use a brush to remove any residue.
Step 5: Allow the brass to dry completely before moving on to the next step.
Step 6(optional): If you want a darker finish, you can repeat steps three through five. Just be sure to increase the soaking time by a few minutes each time.
You can also try chemical blackening, which is a newer method that uses an electrical current to oxidize the surface of the brass.

Step 1: Set up your blackening solution. You’ll need a container big enough to fit your brass, water, and salt. We recommend using a plastic bucket or tub.
Step 2: Add water to the container until it’s about halfway full. Then, add two cups of salt and stir until the salt is dissolved.
Step 3: Place your brass in the solution, making sure that it’s completely submerged. Attach the positive lead of your power supply to the brass and the negative lead to a piece of scrap metal. We recommend using a car battery charger or a welding machine for this step.
Step 4: Turn on your power supply and wait for the current to flow through the brass. The time will vary depending on the power of your machine, but it should only take a few minutes.
Step 5: Once the brass is blackened, turn off the power supply and remove the brass from the solution. Rinse it off with water and dry it with a clean cloth.
Your brass is now blackened!
Finishing Techniques
The finish that you ultimately choose for your brass will depend on the application. For example, if you are creating a piece of jewelry, you will want to choose a finish that is both durable and attractive. Here are some common finishes for brass:
- Lacquer: A clear lacquer can be applied to brass to protect it from tarnishing. It will also give the brass a bright, shiny finish.
- Paint: Paint can be used to create a variety of different looks on brass. You can use it to create a patina, or even to blacken the metal.
- Plating: Plating is another way to protect brass from tarnishing. It also allows you to change the color of the metal, so you can create a variety of different looks.
- Antique: If you want to give your brass a vintage look, you can use an antique finish. This will give the metal a dark, aged appearance.
No matter which finish you choose, be sure to apply it evenly and allow it to dry completely before using your brass piece.
Brass Blackening Tips
There are a few things to keep in mind when blackening brass.
- Patination is a slow process, so be patient!
- If you’re using the liver of sulfur method, make sure to wear gloves and work in a well-ventilated area.
- Liver of sulfur can be tricky to work with, so we recommend doing a test run on a scrap piece of brass before blackening your final piece.
- The key to a good finish is all in the prep work. Make sure to clean and prep your brass before blackening it.
FAQ
What chemical will turn brass black?
There are a few chemicals that can be used to turn brass black. One common chemical is the liver of sulfur. This chemical can be found at most hardware stores or online.

Another option is patina solution, which can also be found online or at some hardware stores. Whichever chemical you choose, make sure to follow the instructions carefully and always wear gloves and eye protection when working with these chemicals.
How do I apply the chemical to the brass?
There are a few different ways you can apply the chemical to the brass. One way is to dunk the entire piece of brass into the solution. Another way is to use a brush to apply the solution directly to the surface of the brass. Whichever method you choose, make sure to evenly coat the brass and give it enough time to react with the chemical.
How do you permanently blacken brass?
There are a number of ways you can blacken brass, but not all of them are permanent. One way to do it is to use a chemical patina solution, which you can apply with a brush or spray bottle. This will give the brass a dark, antique look that will last for years. Another way to blacken brass is to use paint or lacquer. You can either spray the paint on, or brush it on with a small brush. These methods will give the brass a temporary blackened look that will eventually wear off over time. If you want the blackened look to last longer, you can clear coat the paint or lacquer with a spray-on sealant.
How can I change the color of my brass?
There are a few ways that you can change the color of your brass. You can use a chemical patina, paint, or anodize the metal.
Chemical patinas will give your brass a more aged look. You can create different colors by using different chemicals. Some common chemicals used to blacken brass are liver of sulfur and ammonia.
Paint is another option you have for changing the color of your brass. You will want to use a high quality paint that is made for metal surfaces. Anodizing is a process where you electrically charge the surface of the metal and then dip it in an acid bath. This creates a thin layer of oxide on the surface of the metal which changes its color.
Can you spray paint brass black?
The short answer is yes, you can spray paint brass black. However, there are a few things to keep in mind if you’re going to try this method. First of all, it’s important to use a primer made specifically for brass. This will help the paint adhere better and create a more even finish.
This will again help to prevent any unevenness or drips in the final product. Finally, be sure to let the paint fully dry before handling or using the piece again.With these tips in mind, spray painting brass is a fairly simple process that can give your home décor a whole new look.
How do you dull shiny brass?
There are a few ways to dull shiny brass, and the method you choose will depend on the item you’re working with and the look you’re going for. You can use paint, patina, or even just plain old dirt to achieve a more muted finish. Paint is the easiest way to change the color of brass, and it’s also the most temporary. If you want to experiment with blackening brass without making a permanent commitment, painting is the way to go. You can use any kind of paint that adheres to metal, but spray paint will give you the best coverage. Just make sure to prime the surface first so the paint doesn’t chip or peel later on. Patina is another popular option for blackening brass. It’s a bit more of a commitment than paint, but it also produces a more natural-looking finish. You can buy patina solutions online or at hardware stores, and they typically come in two colors: black and green. To apply patina, simply clean the surface of your brass item and then apply the solution with a brush or cloth. The longer you let it sit, the darker the finish will be. If you’re looking for a completely DIY option, you can always try dirt. Yes, that’s right – dirt! All you need to do is rub some dirt onto the surface of your brass item until it’s as dark as you want it to be. This method is obviously less precise than painting or patinating, but it can produce a pretty cool effect.
What will bleach do to brass?
The answer to this question is a bit complicated. Brass is an alloy of copper and zinc, and it is the zinc that reacts with bleach.

The reaction between bleach and zinc produces a gas called hydrogen sulfide. This gas gives brass its characteristic black color. However, the reaction between bleach and brass can also be potentially dangerous. Hydrogen sulfide is a highly toxic gas, and it can cause serious health problems if inhaled. In addition, the reaction between bleach and brass can produce dangerous fumes that can damage your lungs or irritate your skin. So, while you may be able to temporarily blacken brass with bleach, it’s not something we would recommend doing on a regular basis.
How does ammonia tarnish brass?
Ammonia is a gas that can be found in household cleaners. It’s also a key ingredient in some metal blackening solutions. When brass is exposed to ammonia, a chemical reaction takes place that causes the brass to tarnish. The reason that this happens is because ammonia contains nitrogen. When the nitrogen comes into contact with the brass, it causes a chemical reaction that results in the formation of a black oxide film on the surface of the brass. This film is what gives brass its blackened appearance. The good news is that this process is reversible. If you don’t like the way your brass looks after it’s been treated with ammonia, you can simply polish it back to its original shine.
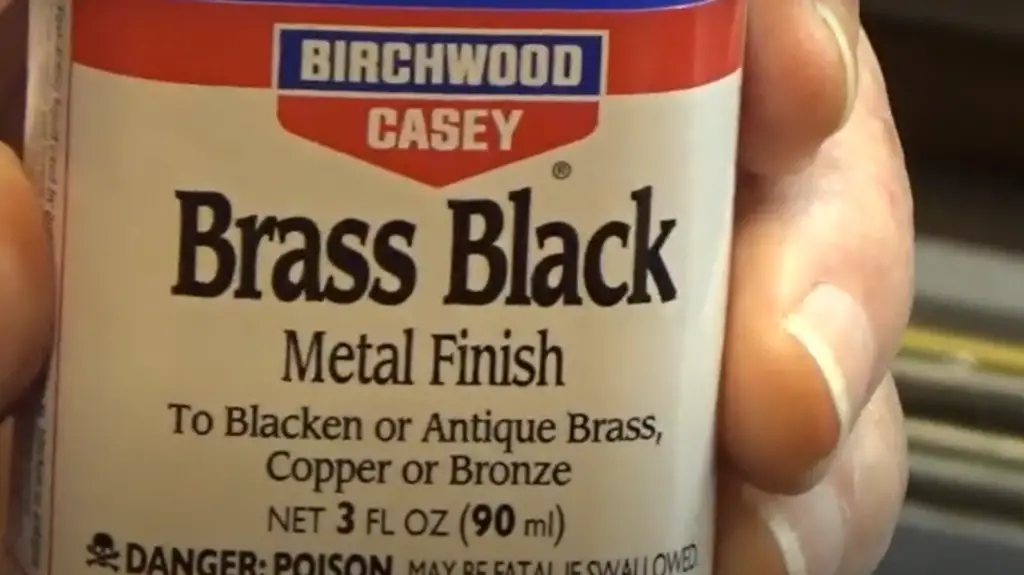
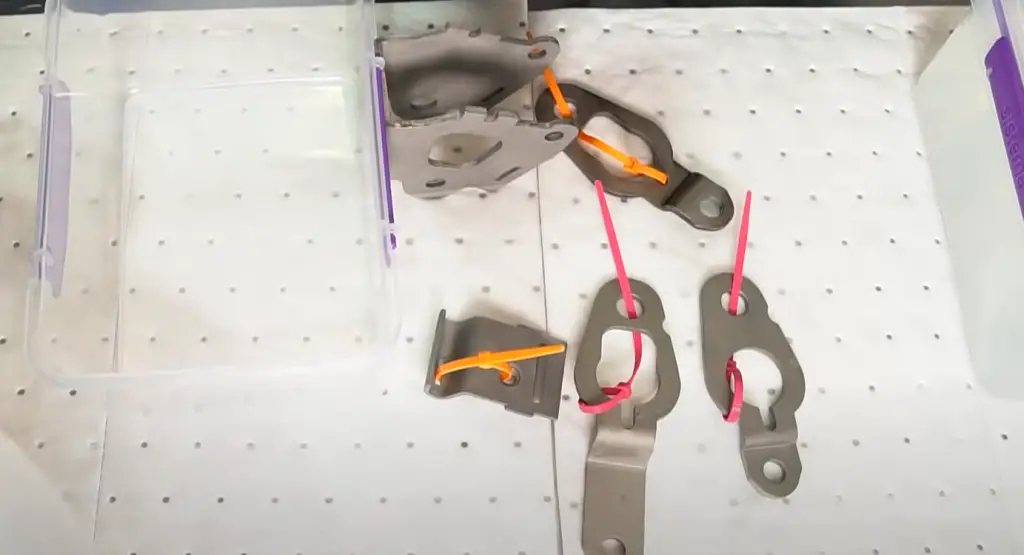
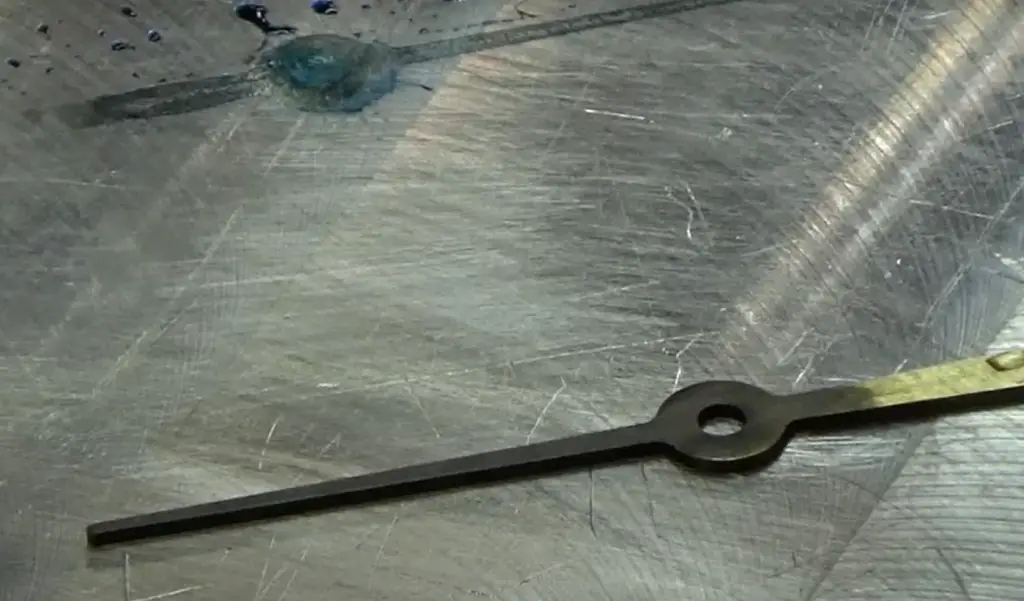
Useful Video: “Brass Black” By Birchwood Casey To Blacken Brass & Clock Update
Conclusions
In conclusion, blackening brass is a process that can be done at home with some simple supplies. The key to success is in the preparation and execution of the process. By following the steps laid out in this guide, you can achieve beautiful, blackened brass that will last for years to come. Thanks for reading!
References:
- https://rotaxmetals.net/tips-how-to-effectively-age-brass-tube-for-furniture-makers-designers/
- https://www.tipsbulletin.com/how-to-tarnish-brass/
- https://mondoro.com/what-is-the-brass-and-bronze-material-used-in-home-decor-products/


