Do you need help finding a simple and effective method for welding aluminum using a stick welder? Look no further! This blog post will give you a clear set of instructions to successfully complete the process and address any related questions you may have. Stick welding is an excellent tool that can be used for a variety of projects involving aluminum and other materials. We’ll explore the advantages, disadvantages, and tips on using this technique to make you feel well informed before starting a job. So let’s hurry up and get started!
What Is Behind the Stick Welding Process?
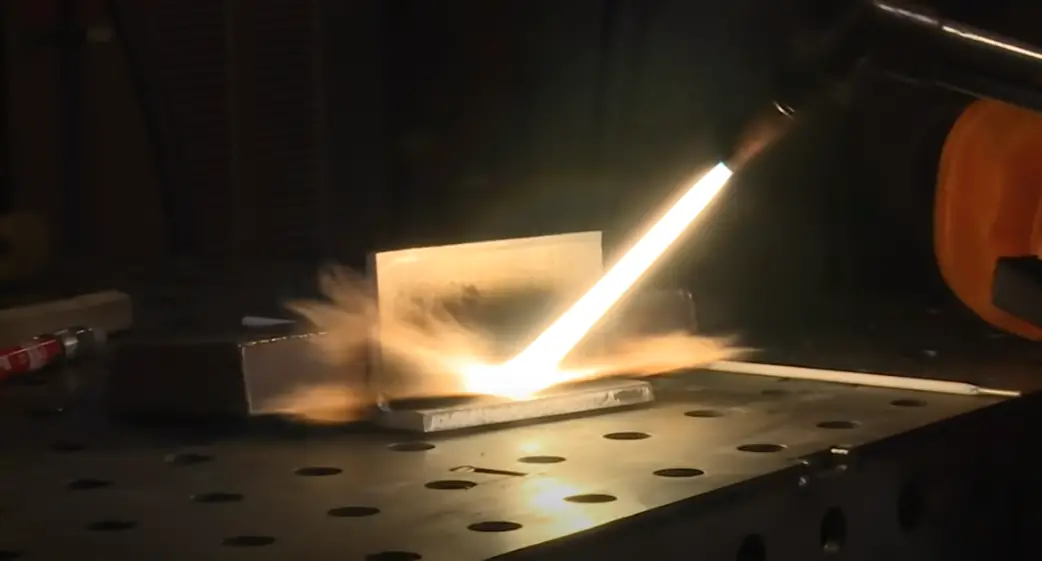
SMAW, or its more clear decoding shielded metal arc welding, is a manual technique that involves using an electric current to produce an arc between the electrode rod and the base material. The electric arc produces enough heat to melt the metal pieces, allowing them to join together. This process is often used for outdoor projects or when welding thicker materials. [1]
The most important part of any project is the safety gear that you must use at all times when working with electricity. To begin welding, make sure to wear a welding helmet, gloves, a long-sleeved shirt, and flame-resistant pants or coveralls. You will need some special tools to weld aluminum. Ensure you get the right ones. Choose between:
- Direct Current stick welders that uses direct current and has sufficient amperage to effectively weld aluminum material;
- Alternating Current arc welders can also be used. [2]
What are The Advantages of Applying Aluminum?
Aluminum offers several benefits and is widely preferred by welders. Aluminum has a light weight, making it easier to handle. This material is very strong but also not too heavy. It can hold a lot of weight without breaking.
Aluminum possesses high thermal conductivity and heat capacity which allows it to hold temperatures better than other materials when welding. Additionally, aluminum’s corrosion resistance makes it perfect for outdoor use in marine and automotive applications.
Plus, aluminum is malleable and can be easily manipulated into different shapes, allowing welders to use it in a variety of applications. For example, aluminum can be used to create lightweight frames for cars, boats, and other vehicles. It is also often used in the construction of furniture or light fixtures.
Finally, aluminum is more economical than other metals such as steel due to its lower cost per pound and ease of fabrication. [3]
All these benefits make aluminum a great choice when you are looking for an easy and affordable way to weld your projects.
Aluminum Welding Varieties
It’s crucial to have knowledge about the various aluminum welding types to get the job done faster and avoid unpleasant situations. So let’s understand them in more detail!
GMAW/MIG
This technique involves using an electrical current and a wire electrode that is consumed during the process to create the weld. The generated heat melts both the base metals and the wire, forming a strong bond between them. Aluminum welding needs to be done outside. This is because a special gas is needed to protect the weld from getting rusty.
GTAW/TIG
TIG is also a commonly used technique. The gas tungsten arc welding implies the following. An electric current is used to make heat. The heat melts the metals and other materials together. This process requires more skill from the operator as it takes longer to master if compared to GMAW.
SMAW
To perform this task, we need to generate an electric arc between the electrode and the workpiece. This causes both metals to melt and fuse together as the material cools down. The shielded metal arc welding method provides good mechanical properties and is relatively economical, however it takes longer to master than other welding techniques. [4]
So, welding aluminum is a process that demands expertise and understanding. GMAW, GTAW, and SMAW are all viable options for working with a stick welder. However, each method has its own set of advantages and disadvantages that should be considered before starting work.
What Makes Welding Aluminum a Complex Job?
Aluminum welding requires specific techniques to achieve a good result, as it is more challenging to handle compared to metals like steel. This is due to its low melting point, which can result in the formation of oxide films that make welding difficult.
You still have to keep the following challenges in mind:
Oxidation
Aluminum is highly reactive to oxygen, and when exposed to the air it quickly forms a thin oxide layer on its surface. This oxide layer acts as an insulator that affects the weld penetration and strength. In order to reduce the oxidation effects, all surfaces of the material must be cleaned with a stainless steel brush before welding.
Porousness
Due to its highly reactive nature, aluminum is prone to porosity when welding with a stick welder. Porosity leads to a weakened weld that can be easily broken. How to avoid porousness? Just be sure you select the correct welding rod, clean and prepare your weld surface correctly, and use a slow and consistent melting rate.
Impurities
For the welding process to be done correctly, it is important to confirm that the metal is thoroughly clean and devoid of any impurities. Oil and other debris can cause porosity or weak welds, so make sure you clean your aluminum before beginning. If the aluminum has been painted, remove all paint layers as these may contain contaminants that will react with the molten metal during welding. To clean thoroughly, use oil-free abrasive paper or wire brushes.
Thickness
Another challenge is the thickness of the material. Aluminum and its alloys are typically quite thin, and it is important to take this into consideration when selecting an appropriate welding rod. Using too thick of a rod can lead to excessive heat buildup and burn-throughs in the material. However, using too thin of a rod can result in shallow weld penetration or incomplete fusion. Generally, the welding rod should be one-third of the base metal thickness or less. For thicker aluminum pieces, it is best to use a wire feed welder for better results. [5]
Things to Avoid When Welding Aluminum
There are some important things to avoid in order to ensure you get a good weld:
- Don’t use too much current – Too much current can cause excessive heat which can lead to warping of the metal and poor bonding between the two pieces. This will weaken your weld and make it more likely to come apart over time. Try to stick with low amperage settings. Do it with a few test welds and adjust the current as needed.
- Don’t use flux-cored electrodes – The flux core in some electrodes can react with the aluminum and cause porosity, which will weaken your weld. It also leads to excessive spatter and can make it hard to keep a clean weld. Stick with solid electrodes or rods without flux cores.
- Don’t weld in the presence of moisture – Moisture can cause steam pockets and other defects which will weaken your welds, so be sure to always weld in dry conditions. Keep an eye out for any condensation on the metal surface before beginning your welding project. To clean the tool from moisture , use a cloth to wipe the material dry.
- Don’t overheat the aluminum – Overheating can lead to distortion of the metal and a poor weld. Use as low an amperage as possible for your weld and take breaks when needed. This will help ensure that you get a strong, clean weld without any warping or defects.
- Don’t use too much travel speed – Travel speed is important because it affects how hot the metal gets and how well the two pieces bond together. Too high a travel speed can lead to weak welds that are prone to cracking, so take the time to adjust your speed as needed.
- Avoid using too much filler metal – An excess amount of filler metal can result in an inconsistent weld that does not properly unite the two metal pieces. This can also lead to warping and other problems down the line. Keep an eye on how much filler metal you’re using for each joint and make sure it’s not more than necessary for a good weld.
- Don’t move too slow – You need to keep moving so that you don’t overheat the metal and create a weak weld. Move quickly, but not so fast that you can’t maintain consistency in your welds.
- Don’t use dirty tools – Make sure to clean all of your tools and the metal you are welding. Any dirt or debris on the surface can weaken your welds, so it’s important to make sure everything is as clean as possible before starting.
- Don’t be afraid to take breaks – Welding aluminum is a delicate process that takes patience and practice. If you find yourself struggling, take a break and come back to it later with fresh eyes. This will help ensure that you get the best possible welds without any defects.
Following these tips should help you produce a strong weld using your stick welder and aluminum pieces. Be sure to practice on scrap pieces before attempting any actual welding projects, so you can get accustomed to how it feels and test out different current settings until you find the right one for your situation.
How to Weld Aluminum With a Stick Welder?
And now we move on to the main point with step-by-step instructions for welding aluminum.
Step 1. Get the basic tools
Firstly, gather the necessary supplies. To work with aluminum, you’ll need certain equipment such as a specific electrode, shielding gas, and flux-coated rods. You will also need safety equipment such as goggles, gloves and a face mask for protection. Welding tables and clamps are also must-have. They help to hold the pieces together.
Step 2 Choose a suitable rod
The material requires a very specific rod. It is important to select the right one as different types of rods produce various welds. Make sure you choose an aluminum-specific rod that is rated for your application and compatible with the type of metal you are working with. To be sure of the correct choice, check the manufacturer’s recommendations for specific types of rods and metal thickness.
Step 3 Clean off the dirt and oxide
It is essential to remove any dirt or oxidation that may be present on the surface of the aluminum. To do this, use a wire brush to clean the area thoroughly and then use an abrasive cloth to make sure it is free from any residue. The oxide layer can also be removed using a solution of vinegar and water or with a special aluminum cleaning product. For example, the Eastwood Aluma Blast is an excellent product for removing oxidation and preparing aluminum surfaces for welding.
Step 4 Prepare aluminum joint
To prepare the joint for welding, use a file or grinder to remove any paint, dirt, or corrosion that may be on the surface. Make sure to make the joints square and parallel by using either a right angle grinder or an adjustable triangle block. Use a wire brush to clear away any debris and then coat both ends of the joint with flux (an acidic paste used to help prevent oxidation during welding).
Step 5. Adjust proper polarity
If your welding machine has a selector switch that allows you to choose between DC positive and negative polarity, make sure it is set to the correct setting. For aluminum welding, DC negative (or reverse) polarity is usually used. When set correctly, the electrode holder will be connected to the negative terminal of the power source and the work clamp will be attached to the positive terminal. If you’re not sure which polarity settings are best for your welds, refer to your welder’s owner’s manual or consult with a professional welder. [6]
Step 6. Adjust the proper amperage for rod
Proper amperage setting is crucial while using a stick welder to weld aluminum. Generally, you want to use an amperage that is lower than when welding steel because aluminum has a much lower melting point. You will also need a special aluminum rod, such as 4043 or 5356, in order for your welds to turn out right. The correct amperage should be printed on the packaging of your rods and can range from 50-200 amps depending on rod size and thickness of material being welded. Once you have selected the appropriate current setting for your electrode type, move on to the next step.
Step 7. Inverter welding machine settings
These are the most commonly used for welding aluminum. They’re usually set a little differently than when you’re welding steel. Begin by setting the amperage to the lower range of what your welder is capable of doing. This will help prevent burn through or melting parts of the metal that you don’t need to be melted. You’ll also want to adjust the AC frequency on an inverter stick welder from 60Hz down to 40Hz or even 20Hz if possible. This helps get a smoother arc with less spatter which is important when welding thin materials like aluminum. Finally, use shorter arcs and slower travel speeds. Both will help you get a better looking weld. [7]
Step 8. It is always advisable to preheat the material
Preheating can be done by hand with a heat gun, propane torch, or oxy-acetylene. The metal should be heated to its maximum temperature before welding. This helps prevent cracking in the aluminum and also makes it easier for the weld to flow smoothly.
Step 9: Use the proper rods procedure
It is important to use the proper technique. To do this, adjust your forehand and backhand angles as well as the speed of travel at which you drag the electrode along the surface. You should ensure that both hands are moving in one direction without any sudden jerks or movements. Additionally, pay attention to how much flux is leftover on the weld zone. Too little flux can lead to an incomplete and porous weld while extra flux can cause burn-throughs. Also, make sure not to overheat your workpiece by adjusting your amperage accordingly for different types of rods used. The correct rod manipulation technique will ensure you get a professional looking and high quality weld.
Step 10. Allow the workpiece to cool slowly and clean off the slag
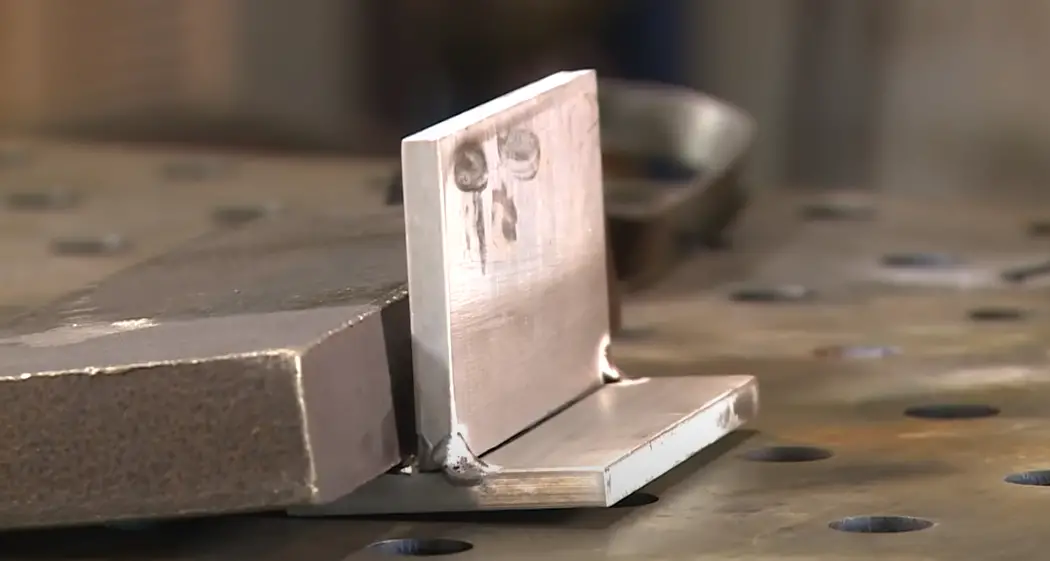
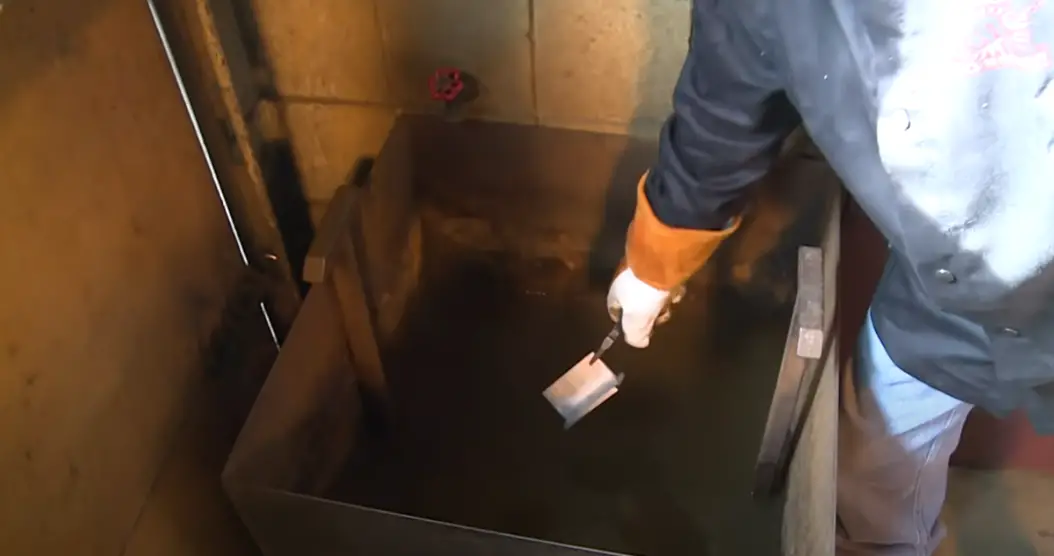
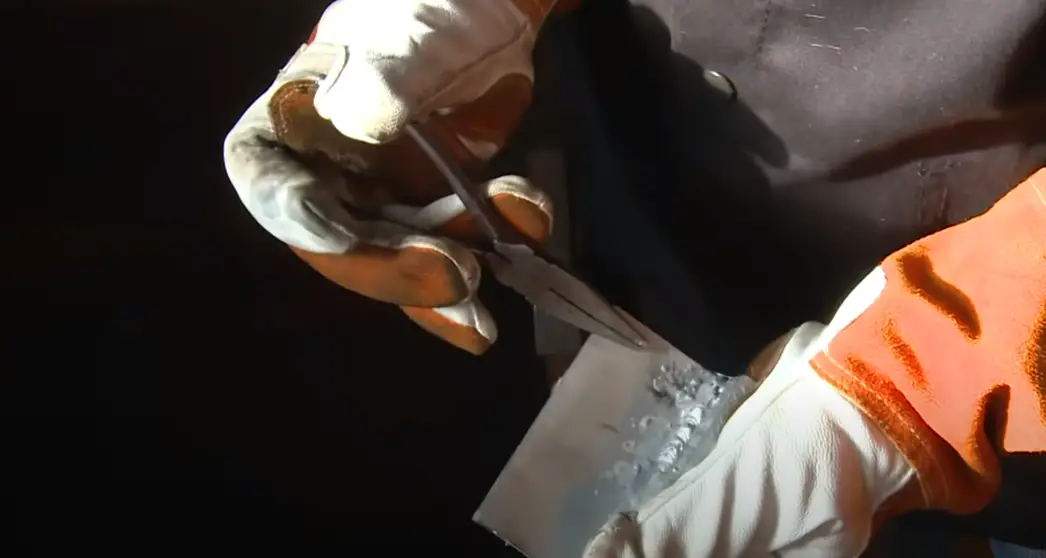
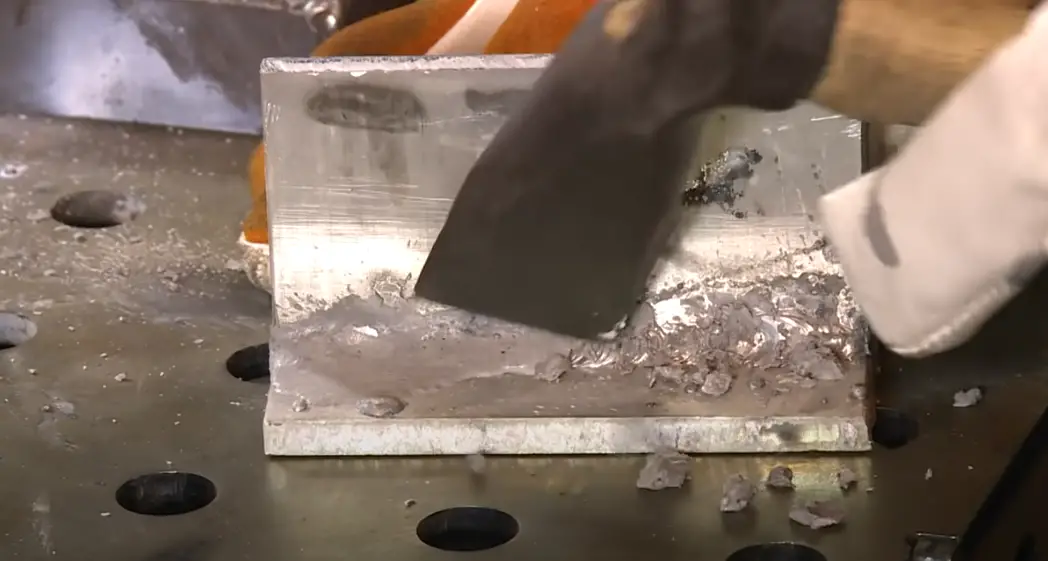
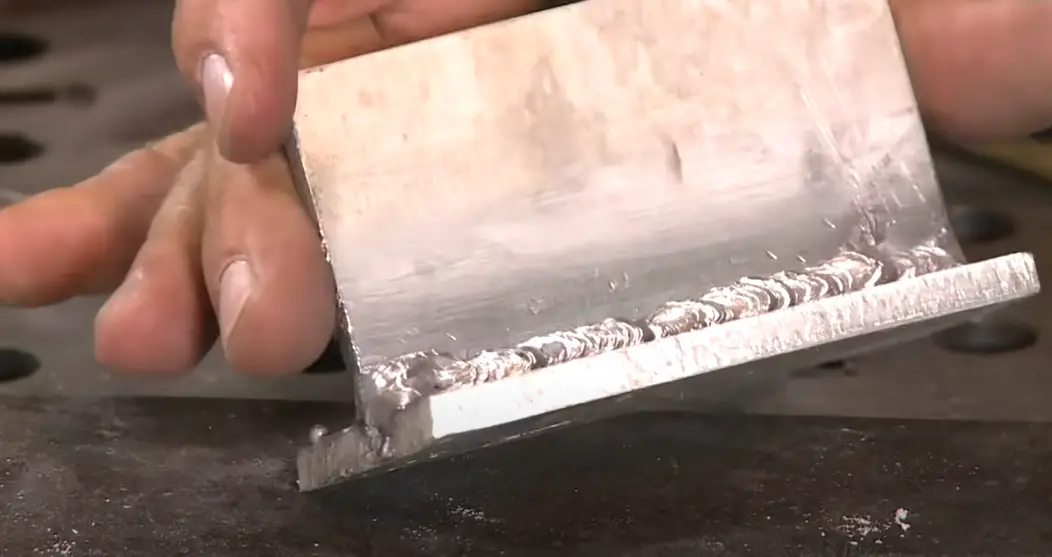
Once you have finished welding your aluminum workpiece, it is important to allow it to cool down slowly and naturally. This will help reduce the risk of cracking due to rapid cooling. Once cooled, use a metal brush or grinder with an abrasive wheel to remove any slag or impurities from the welds. Be sure to wear proper safety gear when using power tools like grinders. You should also give your workpiece a thorough visual inspection before attempting to use it for its intended purpose. Make sure that there are no cracks in the welds or any other signs of damage that could lead to failure during use. If all looks good, then your aluminum weld is complete. Now you can move on to post-weld treatments like painting or polishing.
Congratulations! You have successfully finished welding aluminum with a stick welder. With some practice and patience, you should be able to get great results every time! Good luck!
FAQs
Can you use a stick welder to weld aluminum?
Yes, it is possible to weld aluminum with a stick welder. However, the process is very difficult and requires special electrodes and additional equipment. Aluminum welding requires the use of AC current and high amperage levels to create an effective weld. Moreover, aluminum welding can be tricky since it tends to oxidize when exposed to heat and air so it’s important to take extra care when working with this metal. In order for a stick welder to effectively weld aluminum, the operator must be experienced in both electrode selection and proper techniques for controlling arc length as well as travel speed.
What setting do you use for stick welding aluminum?
It requires a higher amperage than steel. You will need to adjust your welder to the recommended current for your particular situation. Aluminum is generally welded at 140-160 amps, but check with the manufacturer’s instructions to find out what they recommend. Additionally, you must use an AC power source when welding aluminum. The waveform of AC allows for better penetration and cleaning of the base metal during welding, which increases the quality of the weld. When setting up your machine, also make sure that you are using an E6011 or E7018 electrode as this type of rod works best with aluminum. Finally, always remember to use a proper ground clamp and grounding cable when working with any metals.
What temperature do you weld aluminum to?
The exact temperature for welding aluminum will depend on a variety of factors including the type and thickness of the material, the type of electrode being used, and the amperage level. Generally speaking, aluminum welding should be done at temperatures around 700°F (370°C). Additionally, it’s important to keep in mind that higher temperatures may cause oxidation so take extra care when working with this metal. Finally, make sure to provide proper ventilation when welding aluminum since fumes can be hazardous.
Can I weld aluminum with steel rods?
No, it is not recommended to use steel rods when welding aluminum. Steel rods create a reaction with the aluminum which causes rapid corrosion and can damage both the metals being welded as well as the surrounding environment. Instead, you should only use electrodes specifically designed for welding aluminum.
Useful Video: Stick Welding Aluminum
Let’s Summarize
There is no doubt that welding can be a difficult task. With the right materials, tools, and procedures, you can create strong, reliable bonds in many different applications. Whether you are working on a vehicle repair or constructing something from scratch, knowing the proper types of aluminum welding and steps to weld aluminum will make the job go much more smoothly. We have discussed just some of the basics here, but we are sure that this information will only give you more confidence, proficiency, safety, satisfaction, and success in your welding needs. So if you’re up for a challenge give it a try and become an expert in welding this resilient metal!
References:
- https://fractory.com/shielded-metal-arc-welding/
- https://patonwelders.com/welding-aluminum/
- https://www.uti.edu/blog/welding/aluminum-welding
- https://weldingtroop.com/weld-aluminum-stick-welder/
- https://weldingtroop.com/weld-aluminum-stick-welder/
- https://www.uti.edu/blog/welding/welding-polarity
- https://www.weldpundit.com/ac-frequency-in-tig-welding

