Do you ever want to join two metal parts together but don’t know how? Brazing brass is a good way of joining metal components.
It will help your projects look professional. Brazing is simple to do at home because it requires minimal equipment and materials. You can find what you need online or in hardware shops.
In this blog post, we will explain how to braze with brass. Brazing is a way to join two pieces of metal together using a third, melted metal. If you want to learn how to braze or just save money on DIY repairs around the house, keep reading!
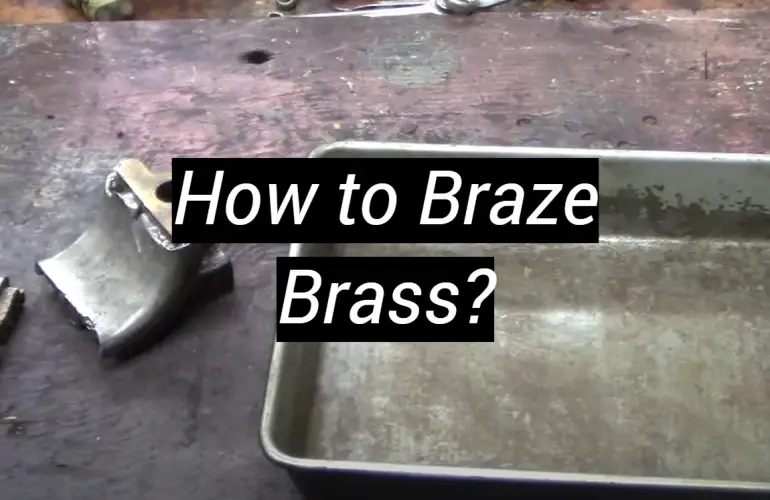
How to Braze Brass?
- Gather the supplies. You will need a propane torch, brazing rods, flux powder, and brass filler rod. Make sure you have adequate ventilation in your workspace as burning metal can produce noxious fumes. Wear protective gear such as gloves, goggles and a face mask while working with these materials.
- Prepare the two pieces of metal to be joined. Make sure that they have been cleaned and free from dirt, oil or other debris. If necessary, file down any rough edges to create a smooth surface for brazing.
- Apply flux powder on both surfaces of the metals to be joined with a brush. The flux powder will create a chemical reaction which will help to form a strong bond.
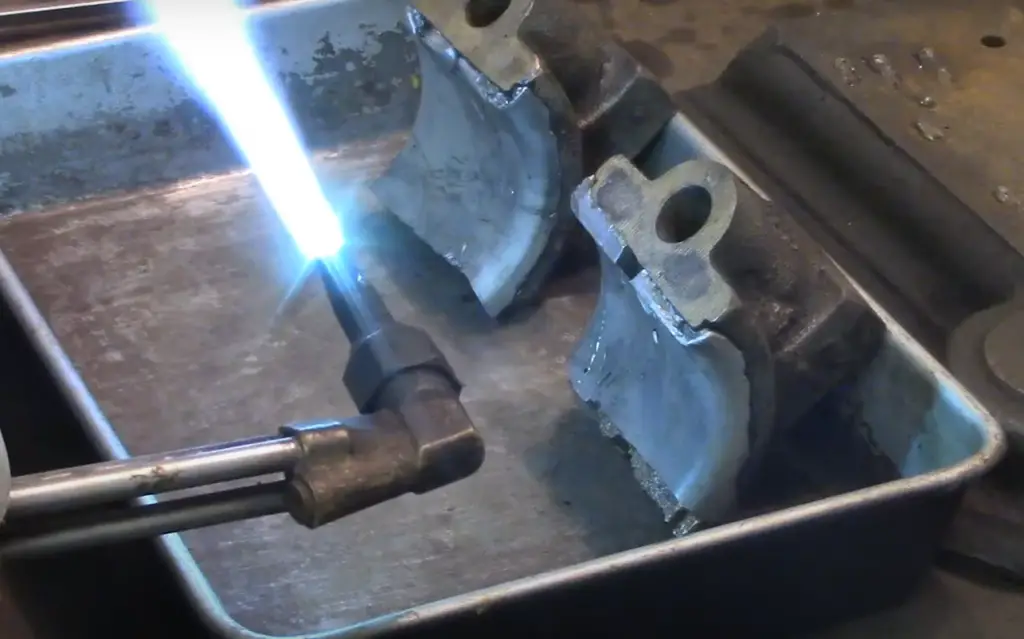
- Heat the two pieces of metal with the propane torch until they are hot but not glowing red. They should reach a temperature of 700-800F.
- Place one end of the brass filler rod onto the heated joint and move it back and forth until it melts and flows into the joint. The flux powder will help to ensure that the parts are properly connected.
- Turn off the torch and let the brass cool for a few minutes before handling it with your hands.
- File down any excess brass with a metal file or sandpaper to finish your work.
Brazing brass is a simple process that can be done at home with few supplies. With the right equipment and safety precautions, you can join two pieces of metal together quickly and easily. Just follow the steps above and you’ll be brazing with brass like a pro soon! [1]
What You’ll Need
- Propane torch
- Brazing rods
- Flux powder
- Brass filler rod
- Protective gear (gloves, goggles and face mask)
- Files or sandpaper for finishing the work
- Clean the Metal
It is best to use mild soap and water to clean the surfaces before beginning your work. You can also use a wire brush or sandpaper if necessary.
Safety First
You should be careful when working with hot metal and burning gases. Make sure there is good ventilation in your workspace.
Wear gloves, goggles and a face mask to protect yourself. Do not leave the torch unattended or pointing at yourself or anyone else.
Apply Flux Powder
The flux powder is an important part of the brazing process. Apply it to both pieces of metal with a brush or cloth. This will help create a strong chemical bond between the two parts and ensure that they are properly connected after heating.
Heat Up Your Torch
Heat up your propane torch until it is hot but not glowing red. Aim the flame at the joint that you want to join and heat it up to 700-800F. You may need to adjust the flame size or distance depending on your torch and type of metal being used.
Add The Filler Rod
Once the metal is hot enough, take one end of the brass filler rod and place it onto the heated joint. Move it back and forth until it melts and flows into the joint. You may need to continue heating for a few minutes if the metal is not melting properly.
Start Brazing
Once the filler rod is melted and flowing into the joint, you can start brazing.
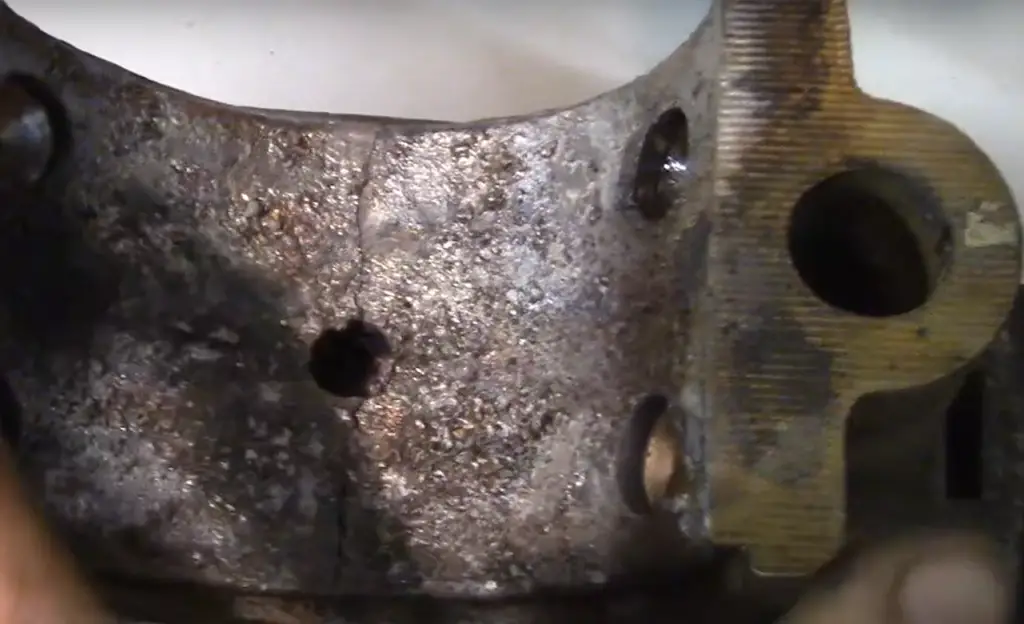
Keep your torch aimed at the joint and move it slightly back and forth until the joint is fully covered with brass. You may need to add more flux powder if needed.
What Brazing Rod to Use for Brass?
The kind of brazing rod you need to use depends on what you are using it for. Usually, brass rods are used for joining two pieces of brass or other metals that are not magnetic, like copper and aluminium.
Always follow the manufacturer’s instructions when using any kind of brazing rod.Why Won’t My Solder Stick to Brass?
There are a few reasons why your solder might not be sticking to brass.
- First, make sure that the surfaces you are trying to join are clean and without any dirt or debris.
- Second, check that you are using the right kind of solder for your project.
- Lastly, make sure the joint is hot enough; if it isn’t, then the solder won’t stick properly.
How do you braze two pieces of brass together?
To braze two pieces of brass together, you will need a propane torch, brazing rods, flux powder, and protective gear. First, clean the metal surfaces with mild soap and water. Make sure to wear gloves, goggles, and a face mask for safety before you begin.
Once the metal is cleaned and heated up with your torch to 700-800F, add the flux powder and brass filler rod. Move the rod back and forth until it melts and flows into the joint completely.
Finally, move your torch around in a circular motion over the joint until it is fully covered with brass. Let it cool before you use it.
Warnings
Brazing can be dangerous if done improperly. Always wear protective gear and do not leave the torch unattended or pointed at yourself or anyone else.
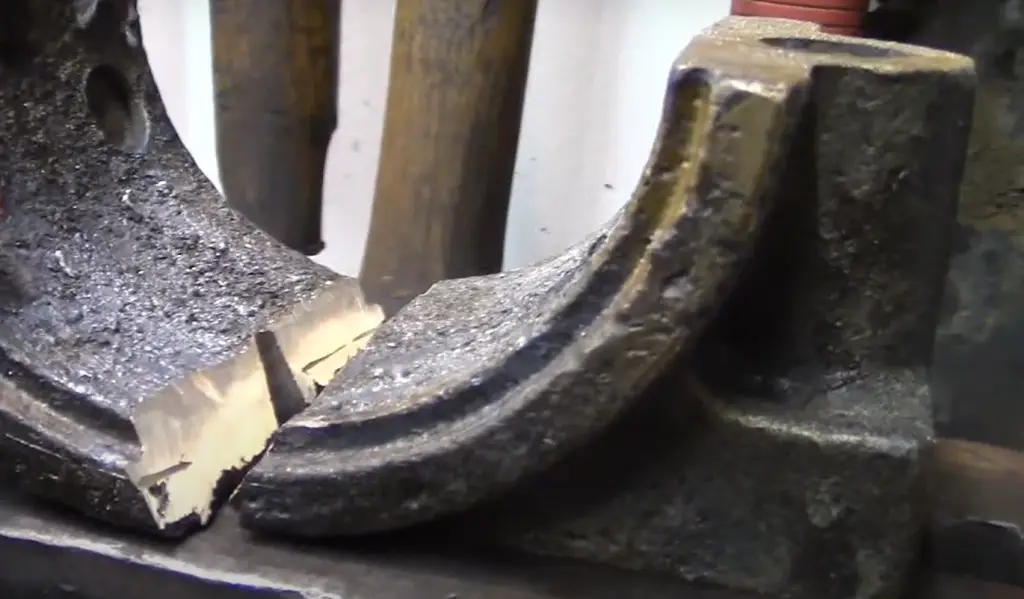
Make sure there is good ventilation in your workspace, as burning gases can cause health problems over time. Have a fire extinguisher nearby in case of an emergency. Follow all safety instructions carefully.
Tips
- If your brass is tarnished, use a wire brush or sandpaper before you begin to clean it.
- Also, make sure the joint is hot enough; if it isn’t, then the solder won’t stick properly.
- If there are any gaps in the joint, add more flux powder and filler rod until they are filled in.
- Finally, let the joint cool before using it. This will help ensure a strong and secure bond.
FAQ
How do you braze brass at home?
To braze brass at home, you will need a propane torch, brazing rods, flux powder, and protective gear. Make sure the joint is clean and free of dirt or debris. Heat up your torch until it is hot but not glowing red and aim it at the joint. When it reaches 700-800F, add the flux powder and filler rod.
Move the rod back and forth until it melts and flows into the joint completely. Finally, move your torch around in a circular motion over the joint until it is fully covered with brass. Let it cool before you use it.
What temperature should I braze brass at?
The best temperature to braze brass is 700-800F. Adjust your torch before you start. Keep the torch pointed at the joint for a few minutes before adding the flux powder and filler rod. If the metal is not melting, you may need to keep heating it for a few more minutes.
What kind of brazing rod should I use for brass?
Usually, brass rods are used for joining two pieces of brass or other metals that are not magnetic, like copper and aluminium.
If you are joining two pieces of metal that are magnetic, like steel or iron, then silver solders work better. Always follow the manufacturer’s instructions when using any kind of brazing rod.
Can I use flux powder when brazing brass?
Yes, you need flux powder when brazing brass. Before you start, check that the joint is clean and there is no dirt or anything else in the way.
Does braze brass need flux?
Yes, flux powder is needed when brazing brass. It helps make sure that the joint is clean and there are no dirt particles or other debris in the way. Flux also helps ensure that the metal flows into the joint correctly and creates a strong bond.
Can you braze brass with solder?
Yes, you can braze brass with solder. However, since brass is a softer metal and solder is harder, the joint may not be as strong or secure when using solder instead of brazing rods. If you are joining two pieces of metal that are magnetic, like steel or iron, then silver solders work better.
What Are the Safety Precautions When Brazing Brass?
When brazing brass, always wear protective gear like goggles and gloves. Make sure that you are working in a well-ventilated area to avoid inhaling hazardous fumes. Keep your torch at a safe distance so it doesn’t overheat and cause any burns or fires.
Additionally, follow all manufacturer’s instructions when using any brazing rods or flux powder. Finally, make sure to store your torch and other tools in a safe place when you are finished.
Does brazing brass create a strong bond?
Brazing brass creates a strong and secure bond. You do this by heating up the joint until it is hot enough to melt the filler rod and flux powder. The molten metal then flows into the joint and creates an incredibly strong bond between the two pieces of metal.
Do I need a special torch to braze brass?
No, you don’t need a special torch to braze brass. Any ordinary propane or MAPP gas torch should work just fine.
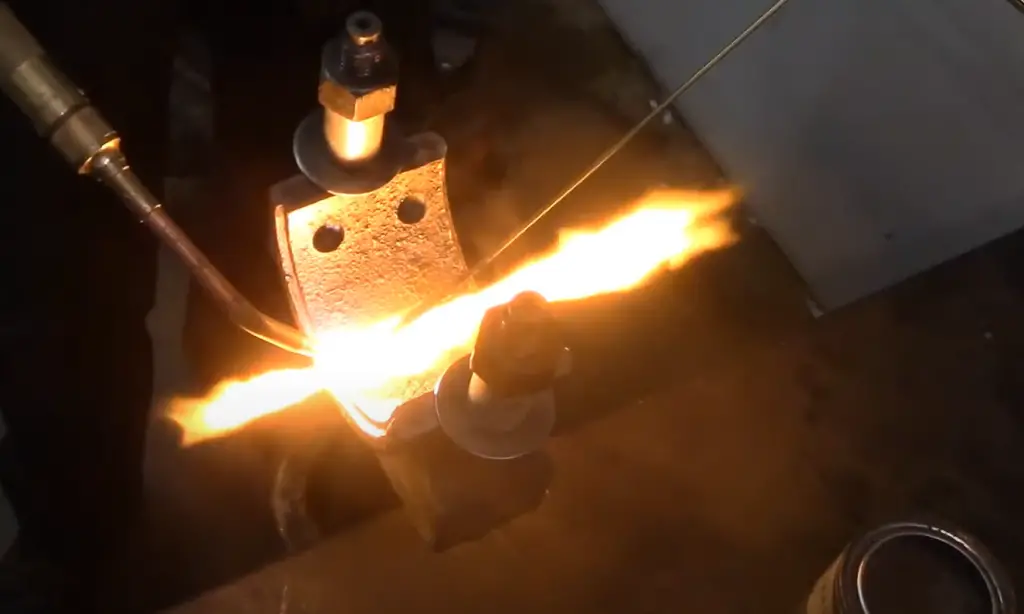
Make sure to point the torch directly at the joint and adjust it until it is hot enough to melt the filler rod and flux powder. Keep your torch at a safe distance and follow all safety instructions carefully.
What Are the Advantages of Brazing Brass?
Brazing brass is a great way to join two pieces of metal together with a strong and durable bond. It is much easier than welding because no special tools are required.
Additionally, brazing does not require as much heat as welding, which makes it a safer option. Finally, brazing is more affordable than welding and can be done with ordinary tools and materials.
Useful Video: How To Braze Brass – Pattin Bros Connecting Rod Cap
Conclusion
After reading this blog post, it is now clear that brazing brass is an intricate process that requires certain steps, materials, and skills. Although brazing on your own can seem intimidating, with the right tools and a little practice, anyone can perfect the art of braze silver soldering.
If you do a brass brazing job correctly, the joint will be strong and won’t have any leaks or corrosion for many years. Always practice safety when doing this project! Wear eye protection, use safe equipment and work in a place with lots of light. You want to make sure the angle grinder or soldering iron is clean before using it.
With these simple tips in mind, you’ll be on your way to becoming a pro at brazing brass in no time. So don’t hesitate any longer – pick up your supplies today and start braising!
References:
- https://blog.thepipingmart.com/metals/how-to-braze-brass-to-brass-a-step-by-step-guide/

